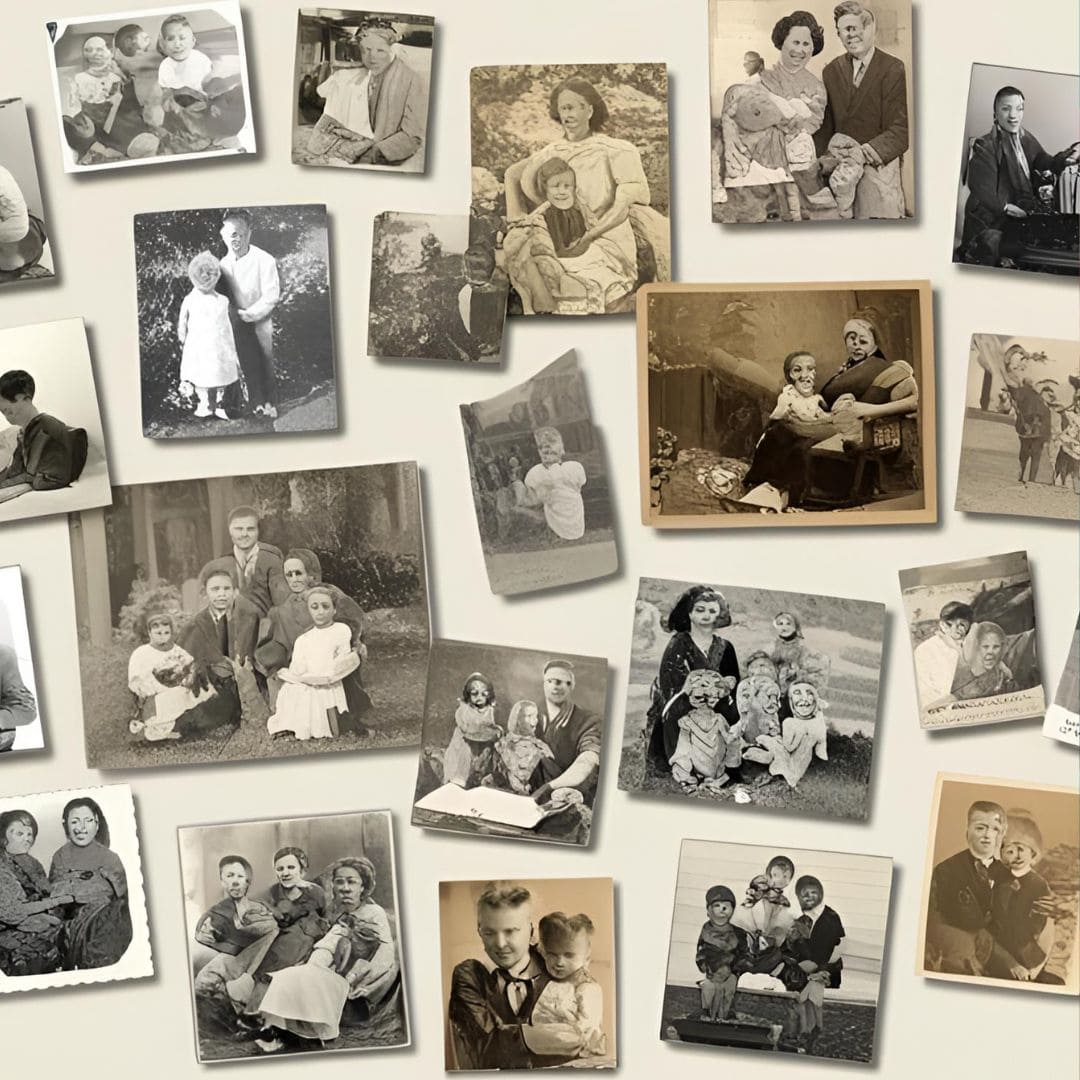
Do you know those old photos of grandma, videos of birthday parties full of cake and chaos, and those stories your family loves to tell at gatherings? Now imagine gathering all of that in one place, neatly organized and easy to access. That’s what we’re going to do here: create a Digital Family Memory Archive that will last for generations!
Come with me, and I’ll walk you through it step by step in an easy and fun way!
Step 1: What Do You Want to Save?
Before scanning everything in sight, take a little time to plan. Ask yourself:
- Which family stories are too precious to miss?
- Are there any photos, documents, videos, or even old notes that need to be saved?
- Does anyone in the family have more material to contribute?
Organizing these ideas first will make everything easier. A great tip is to create categories like: “Weddings”, “Unforgettable Trips”, “Funny Moments”, “1st Birthday Parties”, and so on.
Oh, and don’t forget to chat with the grandparents, uncles, and that cousin who knows everything about the family history. They might recall amazing moments you didn’t even know existed!
Step 2: Time to Digitize – Get Quality Scans!
Now it’s time to turn those physical memories into digital files. But no blurry photos or cut-off documents, okay? Let’s make it look great!
- Use a high-resolution scanner (300 to 600 dpi is ideal).
- If you don’t have a scanner, your phone works too! Try apps like Google PhotoScan or Photomyne.
- Save photos in TIFF format for maximum quality, and documents in PDF/A.
Taking your time during this step ensures your memories stay crisp and vibrant forever! And don’t forget to scan the backs of those old photos — there might be dates or messages written there.
Pro Tip: Always scan with good lighting and no rush. Every little detail counts!
Step 3: Create a Digital Album – Make Your Memories Shine
Now that you have everything digitized, why not turn those files into a super cool album? Don’t just throw everything into one folder!
There are great platforms that make the job easy and fun:
- Canva: perfect for creating stylish and beautiful albums.
- BookWright (Blurb): ideal for making albums that can be turned into physical books.
- Google Photos: automatically organizes by date and even makes collages and videos.
Organize photos chronologically, add captions with names, dates, and little stories. You can even record audio to share special moments, making the album even more heartfelt!
Turning these memories into a digital album feels like traveling back in time!
Step 4: Share – Memories Are Meant to Be Shared
The next step is to get those memories out there! After all, what’s the point of creating all this if it’s kept just for you?
Create a shared drive on Google Drive, Dropbox, or OneDrive, and invite family members to check it out (and send any photos or videos they have too!).
Some key sharing tips:
- Organize everything in folders by theme or year.
- Set permissions to “view only” to avoid chaos.
- Keep a backup on an external HD or another cloud service.
That way, everyone can access and contribute, and your archive will keep growing!
A Gift for the Future
Creating a Digital Family Memory Archive is more than just gathering photos: it’s a gift for the future.
Imagine, 50 years from now, your grandkids looking at photos of you playing at the beach, hearing great-grandma’s voice telling stories, or reading old family letters… emotional, right?
Every saved photo, every recorded story, is a little piece of our history that will travel through time. A well-made family archive is a true treasure — and you’re the one building it!
You don’t need everything to be perfect to start. The most important thing is to take that first step and put all that love into action.
So, are you ready? Your family’s story deserves to be kept and shared with pride!


