
When living in a micro-apartment or a small space, organization is key. Every inch counts, and having versatile furniture that can be used in different ways is an excellent solution. Among the most practical options are foldable shelves, which can be set up and stored away when not needed. However, in addition to being functional, they can also be built by you, making them a simple and affordable DIY project. In this post, we’ll explore why you should invest in foldable shelves, the materials needed to create your own model, and how to install them in various areas of your home.
Why Invest in Foldable Furniture?
Investing in foldable furniture is an excellent choice for those living in small spaces, like micro-apartments or studios. These pieces are ideal because they can be hidden or reduced when not in use, maximizing the usable area of your home. Foldable shelves, for example, can be used to store books, decorative items, or household tools, and when not needed, they can be conveniently stored away, freeing up space for other activities.
In addition to practicality, foldable shelves can be made from a variety of affordable materials and adapted for different needs. This type of furniture is functional, cost-effective, and offers the flexibility that many small spaces require. If you love the minimalist concept or are looking for ways to make your space more functional without compromising on design, foldable DIY shelves are an excellent option.
Basic Tools for the Project
Before starting your DIY foldable shelf project, you will need a few basic tools to ensure a successful outcome. Here is a list of the necessary tools:
- Saw: for cutting wood or other chosen materials.
- Drill: for making precise holes and installing the hinges.
- Screws and hinges: essential for ensuring that the shelf is foldable and secure.
- Sandpaper: to finish the wood surfaces, preventing splinters and imperfections.
- Tape measure or ruler: for precise measurements of the shelf dimensions.
- Wood glue: useful for reinforcing parts of the shelf.
- Brush or roller: if you wish to paint or finish the wood.
The secret to a successful project is patience and attention to detail. With proper planning and the right tools, you can create functional and beautiful foldable shelves for your space.
Simple Foldable Shelf Project: Measurements and Cuts
Now, let’s walk through the step-by-step process of creating your own foldable shelf. The following project is simple and can be done with accessible materials. The first step is to plan the measurements of the shelf based on the available space.
Step 1: Measure the Available Space
Before cutting the wood, measure the space where you plan to place the shelf. Depending on the area, the dimensions may vary, but a common foldable shelf is about 1 meter wide and 50 cm tall. If your space is smaller, adjust the measurements accordingly.
Step 2: Cut the Wood
Once measured, use the saw to cut the wood pieces to the necessary dimensions for the shelves and the structure. Ensure that the pieces are straight and the edges are well-finished.
Step 3: Assemble the Structure
Once the pieces are cut, you can begin assembling the shelf structure. Use the screws and drill to attach the shelves to the top and bottom of the frame. Don’t forget to attach the hinges on the sides, which will allow the shelf to be folded when not in use.
Step 4: Final Adjustments
Before finishing, check if the shelf is properly assembled and the hinges are working correctly. Sand the wood surfaces to ensure they are smooth and free of imperfections. If desired, apply a coat of paint or varnish to give it a nice finish and protect the wood.
Tips for Making the Shelf Durable and Attractive
A foldable shelf needs to be durable enough to support the weight of the items you plan to store. Here are some tips to ensure your shelf is both sturdy and visually appealing:
- Choose durable materials: Wood is a great option for this type of project, but choose high-quality, sturdy wood that won’t warp over time.
- Use quality screws: Don’t skimp on the quality of screws and hinges, as they are crucial for the shelf’s stability and safety.
- Apply a finish: To give the shelf a final touch, apply a coat of varnish or paint in a color that complements your space’s decor. Additionally, the finish helps protect the wood from moisture and wear.
Practical Examples of Where to Install: Kitchen, Living Room, Bedroom
Foldable shelves can be installed in various areas of your home, depending on your storage needs. Here are some suggestions:
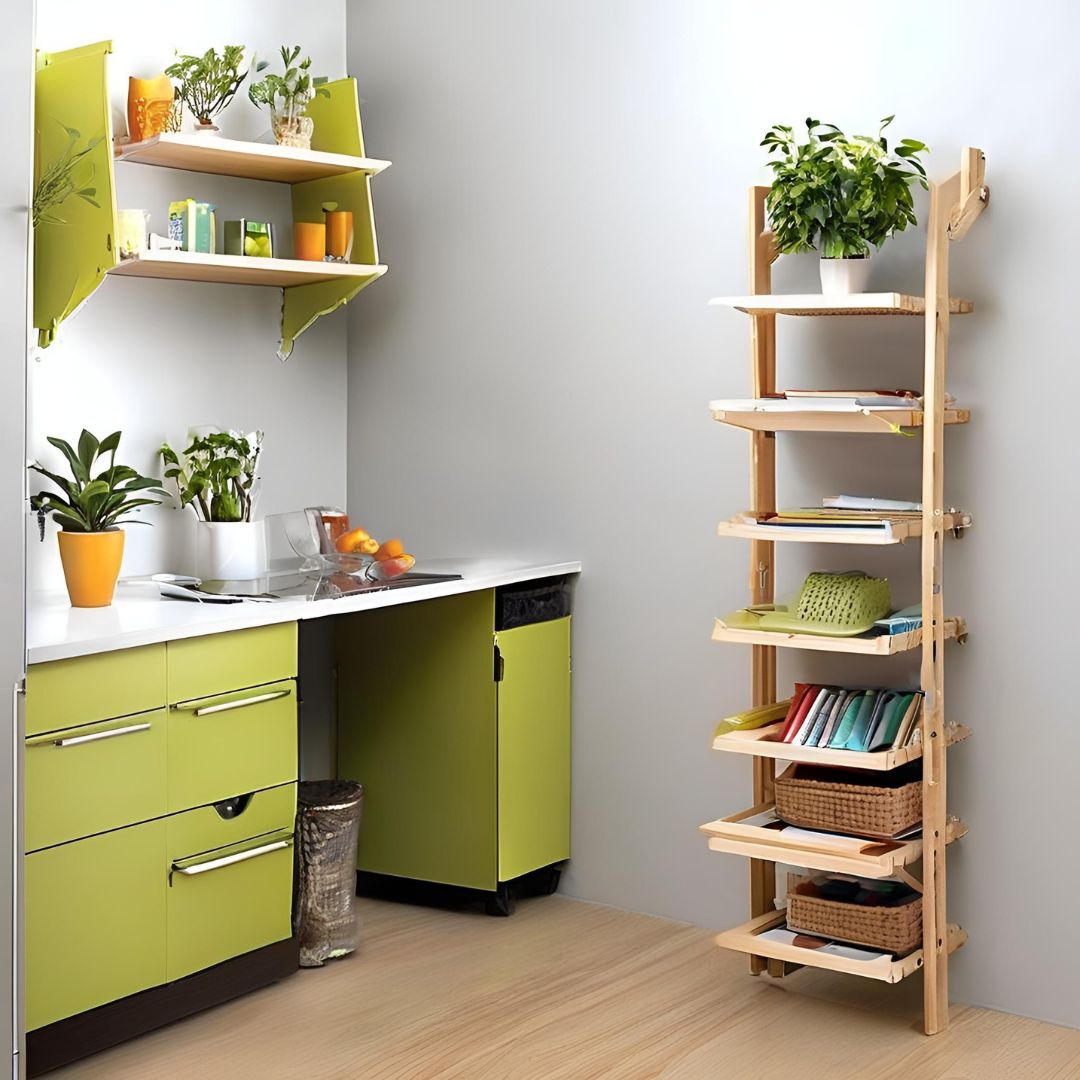
1. Kitchen
In small spaces like the kitchen, foldable shelves can be used to store utensils, spices, or even cookbooks. Since kitchens often have limited storage space, a foldable shelf is a great option to optimize the space without taking up too much room.
2. Living Room
In the living room, you can use the foldable shelf to store books, decorative items, or even electronics. When you don’t need as much space, simply fold it up and free up the area.
3. Bedroom
In the bedroom, a foldable shelf can be useful for organizing clothes, shoes, or personal items. Since bedrooms are spaces where people tend to store many things, a compact and functional shelf can be a good solution.
DIY foldable shelves are an excellent way to optimize small spaces while keeping things organized and stylish. By creating your own model, you can personalize it to meet your needs and tastes, while also saving money. With proper planning and the right tools, you can turn a simple project into a functional and attractive piece of furniture for your home.